September 26, 2011

Stop Motion

This week i was working with Lily and Katie to create a mini video made up only of pictures. 


The link above will take you to the video- it was a fun lesson and was good at showing us what else we can do with photography. 

Exposure Work

Here i was working on exposure- purposely over and under exposing photos.


Under exposed


Normal exposure


Over exposed


Over exposed


Under exposed

This lesson was useful, we learnt how to use exposure to create interesting shots like the under exposed photo above. 

Shutter Speed Work :P

This lesson with Tom was spent working on shutter speeds, painting with light and catching the moment.

Here we were painting with light using out mobile phones. My camera had a shutter speed of 8 seconds on it- so we had time to catch the light from the phones and create some interesting patterns.
Shutter speed is how long the shutter on a camera stays open. The longer the shutter speed the more light it lets in. With this shutter speed- there was time for movement which resulted in the patterns from the mobile phones. It can make a shot darker or lighter. 


By changing the exposure we were able to show or black out the background.  I honestly think that the pictures look a lot better without the background showing, it makes the light more intense. 

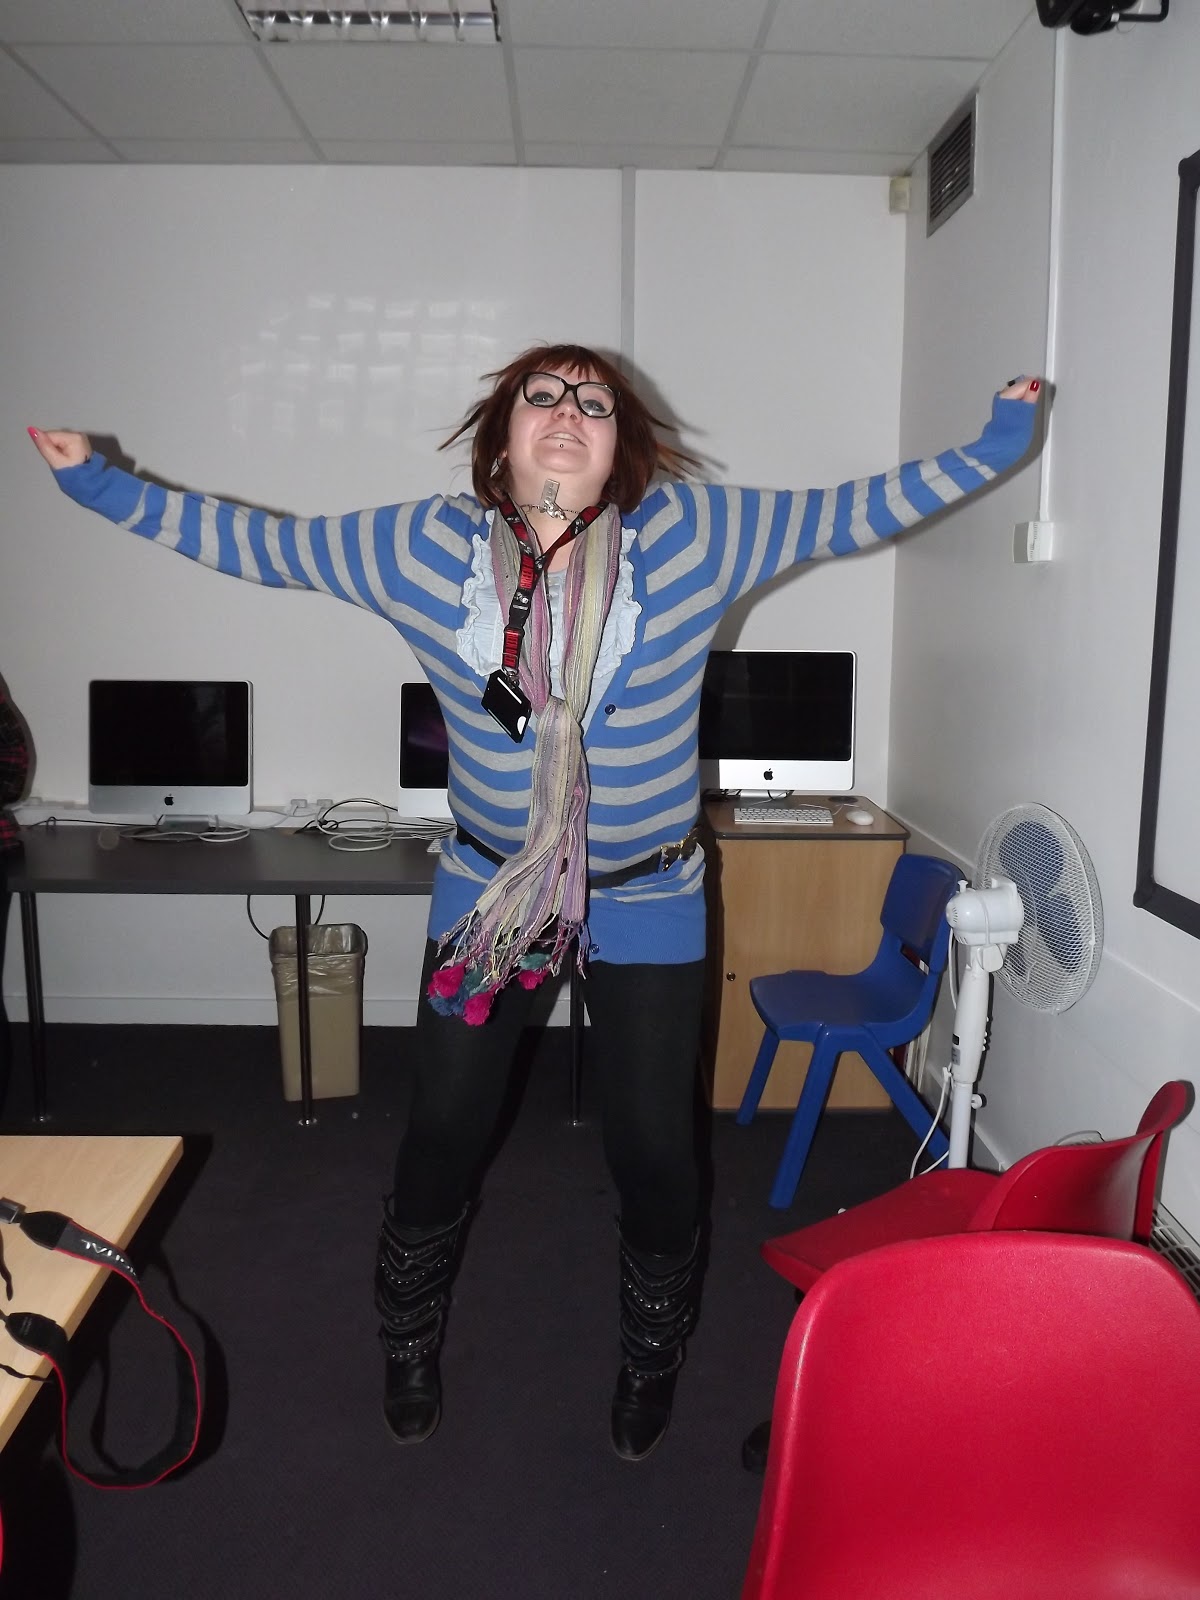
Here we were working on catching the moment, and our shutter speed was on 400ths of a second. making the pictures clear and still.


You'd used a fast shutter speed for pictures like sports shots to cat the moment. this picture was probably taken at about 500ths of a second.


Slow shutter speeds would be used to create more a artistic feel to a picture. This picture was probably taken with a 10-20 second shutter speed.


Architecture Work :)

This is our work on looking at interesting ways of photographing architecture. 


Here we were having a look up to find interesting shots.


I really enjoyed this piece of work- we were trying to change the angle of the camera to make the photo look cool and continuous. i think my first pictures is really effective compared to the second one which was head on. The pictures below, are more examples of tilting the  camera to create a more interesting photo. 


These last two pictures show the dramatic difference a small angle tilt can give to a picture.
Our last tip from Tim was to look at windows and reflections- see the things people don't usually notice.